-
Pick your garden site. Consider how much space you have. Is it shady, sunny or partial shade? What kind of soil does the site have? Is there an area that is protected from the wind that you could plant in? If all you have is a window sill or balcony don’t worry! Tulsi, one of my favorite tea herbs, grows great in containers.
-
Pick your plants. The best part of any garden planning. Do you want low maintenance perennials? If you are in a temporary garden space you might want to grow annuals. If your site is shady consider planting things that do not require full sun like mints. If you do not have access to water you might want to try drought tolerant plants like Sage. What are your herbal tea needs? Scrapes and cuts or relaxing mid afternoon tea? If you do not have a lot of space you might want to choose plants that are versatile like Calendula.
-
Prep your space. Depending on the soil that you have you may need to amend the ground with compost or minerals. If you know ahead of time that you want to turn a space into an herb garden you can cover the ground with leaf mulch, black plastic or cardboard in the fall. This will smother grass and weeds during the winter. Garden prep work looks different to everyone, so do whatever makes the most sense for you.
-
Plant your seeds. Herbs are some of the most rewarding plants to grow. They teach us so much about nature. A lot of herbs require cold stratification. Which is a process that mimics the natural process of winter. Check out our Herb Germination Chart for in depth tips to grow each herb. Some of your seeds may need to be seeded in flats while others like Scullcap can be directly sown into the prepared garden beds.
-
Transplant your plants. Once your seedlings have grown up it is time for transplanting. You will want to dig holes at least two times larger than your starts. Spacing will vary by species. I like to plant perennial plants in the center of my beds and then I will plant annuals on the outer rows. Or I will dedicate beds to perennials and plant the annuals separately. When deciding where to plant your starts, think about how tall and wide they will get. What direction does the sun rise and set? This will help you orient your plants so they all get proper light.
-
Water and Wait. Make sure your plants get adequate water. Maybe you will water them individually with a watering can or hose. Or perhaps you will set up an irrigation system. If you do not have a lot of water make sure to choose drought tolerant plants. If you have a lot of water in your garden due to heavy clay soil there are plenty of plants that enjoy wet feet, like Nettles. Some plants will be ready to harvest the same year like Tulsi while others like Echinaea and Elecampane will not be harvested until at least the second year.
-
Pick your herbs. Once things have grown up a bit you can start picking your herbs. Herbs are excellent fresh or dried. I love fresh Lemon Balm iced tea in the summer. I use needlenose pruners to snip herbs from my garden. Make sure you cut just above the growth node to encourage lateral growth in your plants. This will help them become bushy and spread out. Some things are delightful to pick with your hands like Calendula. My skin is always so soft after I pick those beautiful flowers.
-
Dry your herbs. Herbs can be used fresh but it is nice to save some for the winter time. There are lots of drying methods. I like to hang bundles of herbs with twine in a dry, dark place like my closet. You can also spread them to dry on sheets or on screens. Make sure your drying herbs get some airflow. If you are drying them outside try to protect them from remoistening from dew during the nighttime. You can also dry your herbs in paper grocery bags. If you have a dehydrator there is usually an herb setting.
-
Store your herbs. Once your herbs are dry, store them in glass jars in a dark place like a pantry. Direct sunlight will degrade the quality of your herbs. If you want to be really fancy you can store them in amber colored glass. But also plastic bags will do as well as long as your herbs were sufficiently dehydrated.
- Drink your tea! Probably the best part of this endeavors is that you will have grown all the herbs you need for a beautiful cup of tea. I really love Lemon Balm, Calendula and Tulsi tea with some rose petals or rose hips added to it. If you want to do more than just drink tea with your herbs there is a long deep history of herbal medicine to get engaged with. You can then begin to explore the world of salves, decoctions and tinctures, but tea is a great place to start.
I hope you love gardening with herbs as much as I do. Growing medicinal and culinary herbs is among my favorite of all gardening activities… I mean besides growing flowers, vegetables and fruit. Check out our new Herbal Tea Collection if you want some help deciding what to grow. If you are looking for in depth herb profiles check out the rest of our blog.
Written by: Taryn Hunter
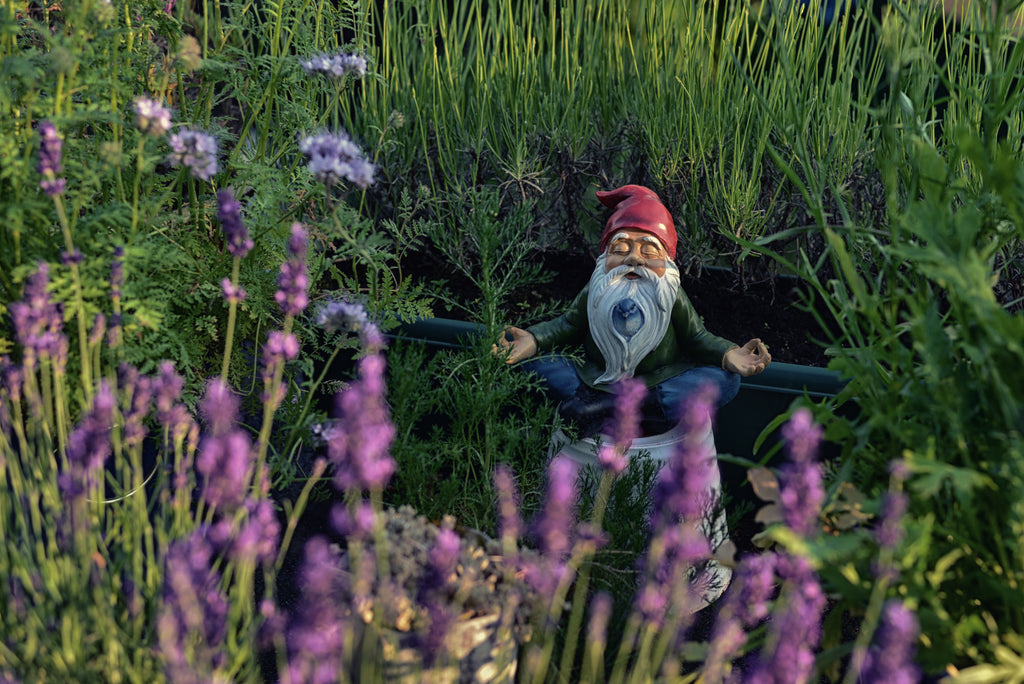
Photo by Dorota Dylka on Unsplash


sunil
~1AdministraThank you so much for sharing all this wonderful information. You always have good humor in your blogs.Touch to my heart knowledge on this topic